UIDatePicker的创建
UIDatePicker是一个可以用来选择或者设置日期的控件,不过它是像转轮一样的控件,而且是苹果专门为日历做好的控件,如下图所示:
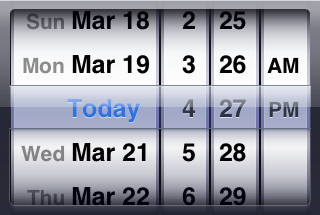
除了UIDatePicker控件,还有一种更通用的转轮形的控件:UIPickerView,只不过UIDatePicker控件显示的就是日 历,而UIPickerView控件中显示的内容需要我们自己用代码设置。本篇文章简单介绍UIDatePicker控件,后边的文章会介绍 UIPickerView。
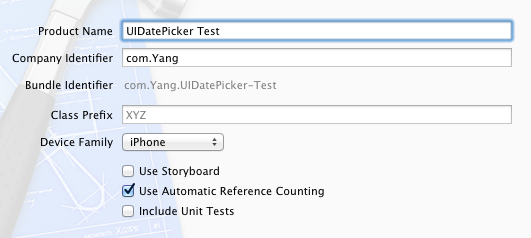
1、运行Xcode ,新建一个Single View Application,名称为UIDatePicker Test,其他设置如下图所示:
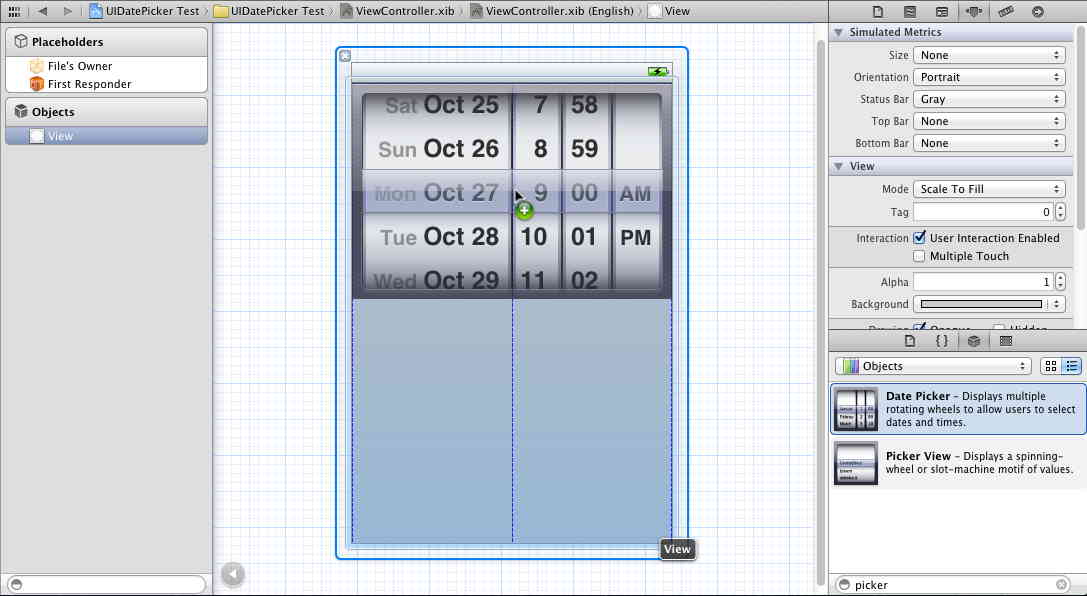
2、单击ViewController.xib,打开Interface Builder。拖一个UIDatePicker控件到视图上:
3、然后拖一个按钮在视图上,并修改按钮名称为Select:
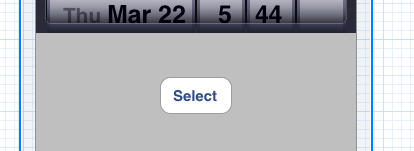
单击按钮后,弹出一个Alert,用于显示用户所作选择。
4、创建映射:打开Assistant Editor,选中UIDatePicker控件,按住Control,拖到ViewController.h中:
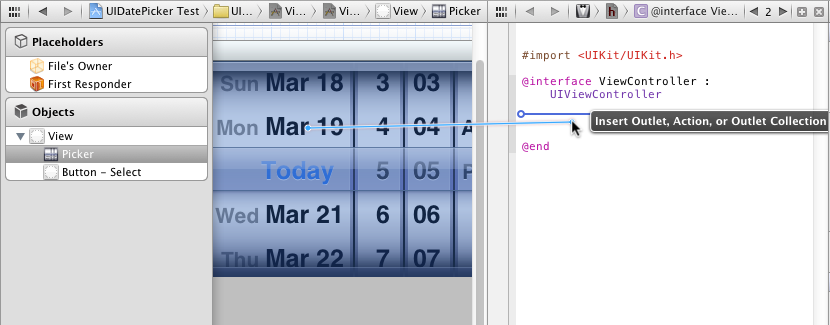
新建一个Outlet,名称为datePicker:

然后以同样的方式为按钮建立一个Action映射,名称为buttonPressed,事件类型为默认的Touch Up Inside。
5、选中UIDatePicker控件,打开Attribute Inspector,在其中设置Maximum Date比如我们这里设为2100-12-31:

实例
而今天我们要做的时间选取器成品具体效果如下:
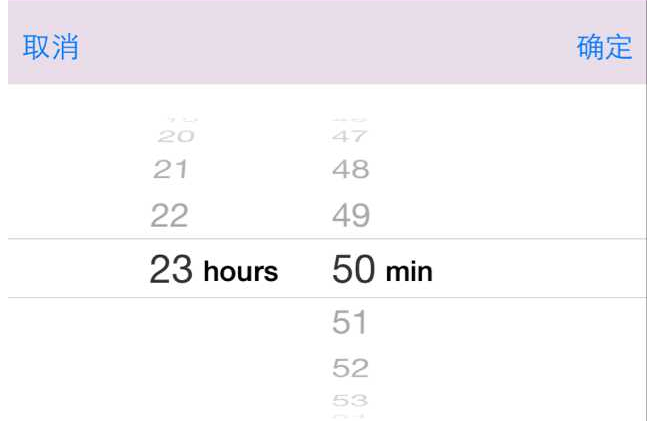
我们自定义一个LGDatePickerView,在LGDatePickerView里面实现。
背景半透明:
背景是半透明的,点击的灰色背景的时候,时间选取器消失。在LGDatePickerView初始化方法里,代码如下:
- (id)init
{
self = [super init];
if (self) {
//背景半透明,绑定取消方法
UIControl *control = [[UIControl alloc] initWithFrame:SCREEN_BOUNDS];
control.backgroundColor = [UIColor colorWithRed:0.0/255.0 green:0.0/255.0 blue:0.0/255.0 alpha:0.5f];
[self addSubview:control];
[control addTarget:self action:@selector(actionCancel:) forControlEvents:UIControlEventTouchUpInside];
}
return self;
}
绑定的actionCancel方法:
- (void)actionCancel:(id)sender
{
[self removeFromSuperview];
}
确定取消按钮:
看到上面的确定取消按钮,你会怎么做,写一个UIView上面放两个UIButton。这样做也是可以实现的。我们还可以用UIToolbar。在LGDatePickerView初始化方法里加上下面这段代码:
// Toolbar
UIToolbar *toolbar = [[UIToolbar alloc] initWithFrame:CGRectMake(0, SCREEN.height - 250, SCREEN.width, 50)];
toolbar.autoresizingMask = UIViewAutoresizingFlexibleTopMargin | UIViewAutoresizingFlexibleWidth;
UIBarButtonItem *itemCancelDone = [[UIBarButtonItem alloc] initWithTitle:@"确定" style:UIBarButtonItemStylePlain target:self action:@selector(actionConfirm:)];
UIBarButtonItem *itemCancel = [[UIBarButtonItem alloc] initWithTitle:@"取消" style:UIBarButtonItemStylePlain target:self action:@selector(actionCancel:)];
UIBarButtonItem *space = [[UIBarButtonItem alloc] initWithBarButtonSystemItem:UIBarButtonSystemItemFlexibleSpace target:nil action:nil];
[toolbar setItems:[NSArray arrayWithObjects:itemCancel,space,itemCancelDone, nil]];
[control addSubview:toolbar];
actionCancel上面已经实现了。下面实现actionConfirm方法。它有什么作用呢?
点击的时候获取到时间,然后通过代理代理出去。
时间选取器消失:
- (void)actionConfirm:(id)sender
{
if ([self.delegate respondsToSelector:@selector(datePickerView:didSelectTime:)]) {
[self.delegate datePickerView:self didSelectTime:self.datePicker.date];
}
[self removeFromSuperview];
}
代理方法:
在LGDatePickerView.h
@protocol LGDatePickerViewDelegate <NSObject>
- (void)datePickerView:(LGDatePickerView *)datepicker didSelectTime:(NSDate *)time;
@end
创建UIDatePicker:
在LGDatePickerView.h定义一个全局变量
@property (nonatomic, strong) UIDatePicker *datePicker;
在LGDatePickerView初始化方法里加上下面这段代码:
UIDatePicker *datePicker = [[UIDatePicker alloc] init];
datePicker.backgroundColor = [UIColor whiteColor];
datePicker.datePickerMode = UIDatePickerModeCountDownTimer;
datePicker.date = [NSDate date];
datePicker.frame = CGRectMake(0, SCREEN.height - 200, SCREEN.width, 220);
[control addSubview:datePicker];
self.datePicker = datePicker;
使用LGDatePickerView
使用起来很简单,创建一下,然后加载self.view上面即可:
LGDatePickerView *datePicker = [[LGDatePickerView alloc] init];
datePicker.delegate = self;
datePicker.datePicker.date = [NSDate date];
datePicker.frame = self.view.bounds;
[self.view addSubview:datePicker];
