Android学习笔记之样式和主题之选择器
(1)布局文件
<RelativeLayout xmlns:android="http://schemas.android.com/apk/res/android"
  xmlns:tools="http://schemas.android.com/tools"
  android:layout_width="match_parent"
  android:layout_height="match_parent"
  android:paddingBottom="@dimen/activity_vertical_margin"
  android:paddingLeft="@dimen/activity_horizontal_margin"
  android:paddingRight="@dimen/activity_horizontal_margin"
  android:paddingTop="@dimen/activity_vertical_margin"
  tools:context=".MainActivity" >
  <Button
    android:id="@+id/button1"
    android:layout_width="wrap_content"
    android:layout_height="wrap_content"
    android:layout_alignParentBottom="true"
    android:layout_alignParentLeft="true"
    android:layout_marginBottom="189dp"
    android:layout_marginLeft="55dp"
    android:textColor="@color/button_selector"
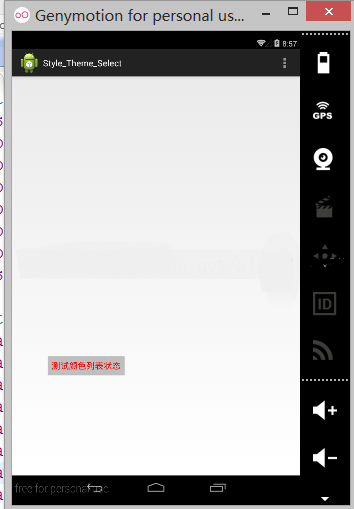
    android:text="测试颜色列表状态" />
</RelativeLayout>需要在按钮里边使用:android:textColor="@color/button_selector"
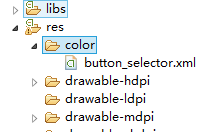
(2)需要在res目录下创建一个color文件夹

button-selector文件内容如下:
<?xml version="1.0" encoding="utf-8"?>
<selector xmlns:android="http://schemas.android.com/apk/res/android">
  <item android:state_pressed="true" android:color="#ffff0000"/>
  <item android:state_focused="true" android:color="#ff0000ff"/>
  <item android:color="#ff000000"/>
</selector>
其他文件不做修改,默认的就可以

总结
以上就是这篇文章的全部内容了,希望本文的内容对大家的学习或者工作具有一定的参考学习价值,谢谢大家对得得之家的支持。如果你想了解更多相关内容请查看下面相关链接
本站部分内容来源互联网,如果有图片或者内容侵犯您的权益请联系我们删除!
